
|
|
|
|
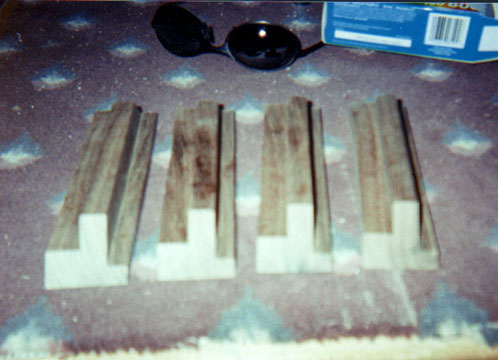
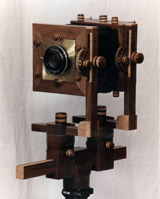
Front and Rear Frames
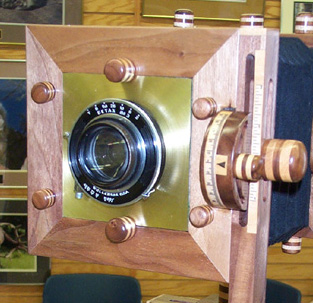
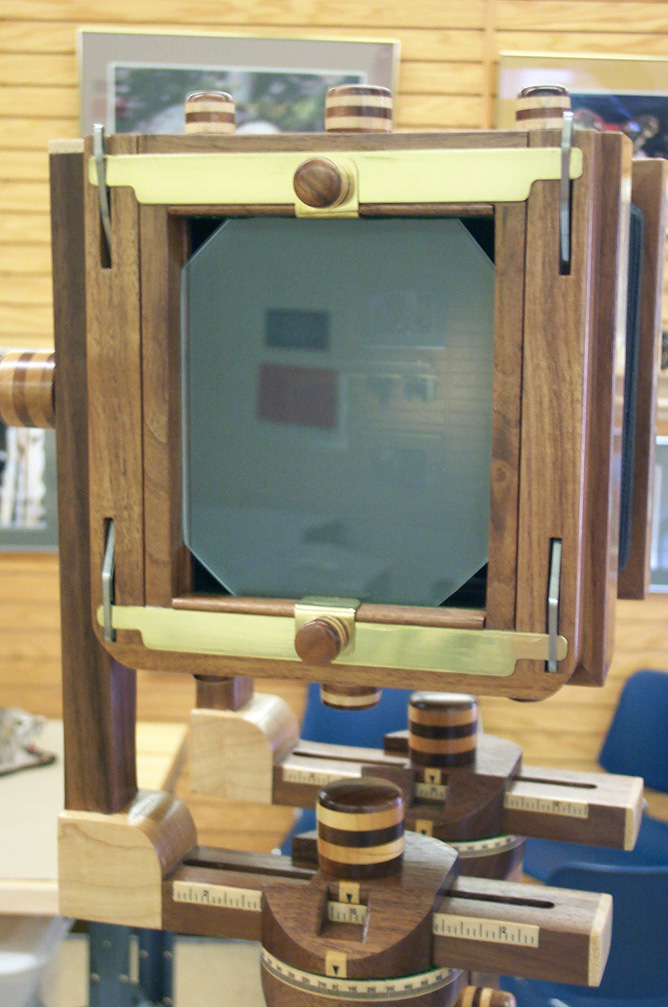
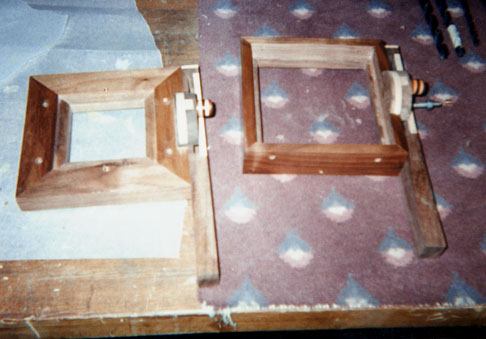
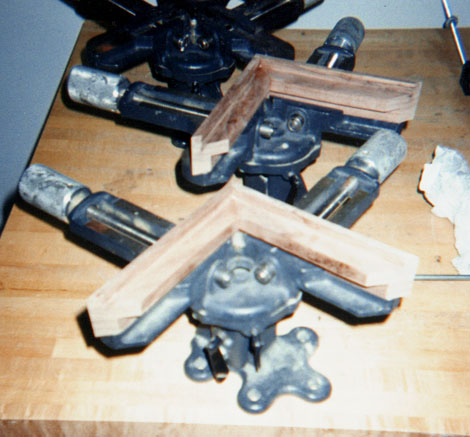
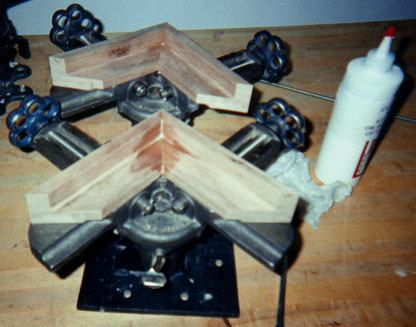
Here are the plans for the front and rear frames. I made them out of Black Walnut and they look really nice. I started with a thick stock, I think it was about 1 3/4" X 5" X 7', and machined down on a table saw from there. I used a solid piece of wood because it was easier for me with the tools I have. If all you have is hand tools it might be easier building the steps up with separate pieces of square stock cut and glued. Once you have the pieces built up to dimension you could cut them on a hand miter and glue them together. I machined the front and rear frames to dimension, each on a separate piece of stock. I then had a long machined stock for the front frame and the same for the rear frame. I used a framing saw for the miter cuts and glued them with framing glue in a framing vice. The framing glue is a little bit stronger than regular wood glue and dries clear. After the frames are glued route out the right side (as seen from the front) of each frame to fit the anchor pieces (see the Standards section) and glue those in. Once you have both anchor pieces installed then it's time to put in the 1/4" threaded inserts. The best way I found to do this is to use the anchor pieces you created with the standards as a template for the placement of the hole. Mark the hole, drill and install the insert. All you have left on the frames is the 1/8" threaded inserts and drilled holes for the bellows, lensboard and spring back (see pictures). For the lensboard on the front frame I put two threaded inserts in centered top and bottom that so that the knobs I turned would overlap and hold the lensboard in place. For the front frame I drilled four holes, two on the left and two on the right, top and bottom, to compliment the lensboard holes. Once I had the bellows frame complete I drilled through the holes in the frame to ensure that all the holes match and installed 1/8" threaded inserts into the bellows frame. On the rear frame I drilled two holes and installed threaded inserts, centered top and bottom, about 1/8" from the back of the rear frame to hold the spring back. The holes should match the brass inserts installed centered on all four sides of the spring back. This will give the knob a hard surface to stop against and hold in the spring back. The last four holes that need to be drilled are the two top and two bottom for the bellows frame. Again, I placed then complementary to the spring back holes and centered over the width of the bellows frame space. Once the bellows frame was complete I drilled through these holes to the bellows frame for the threaded inserts I then installed in the bellows frame. See the pictures for my placement of the holes.
The frames are complete! |